
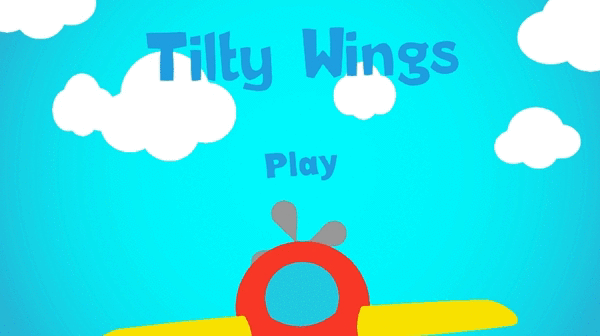
Take to the skies in this whimsical, fantastic flier.
Greetings, future pilots!
I’m a bit late to the party (started mid-November), but this is my work in progress for the Unity 2D Challenge. I plan to update this page as I make progress over the coming weeks. Consider this a stream of consciousness.
Submission Video
About
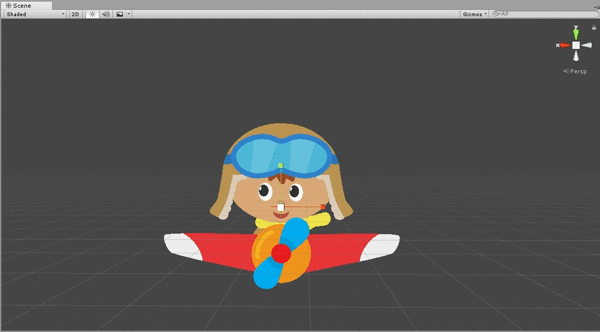
I wanted to try out Unity’s new Vector Graphics (SVG) Package, but in a way that uniquely took advantage of the high resolution assets. I wanted to challenge myself to come up with an idea that couldn’t feasibly be done with raster-based pixel graphics.
I also wanted to keep the project scope small, as to actually have a snowball’s chance in hell of finishing something. Thus, on a cold winter’s night, I downloaded Unity 2018.2.15f1 and started prototyping.

Game Design
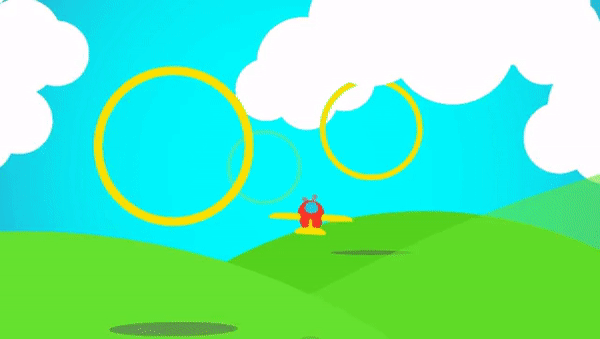
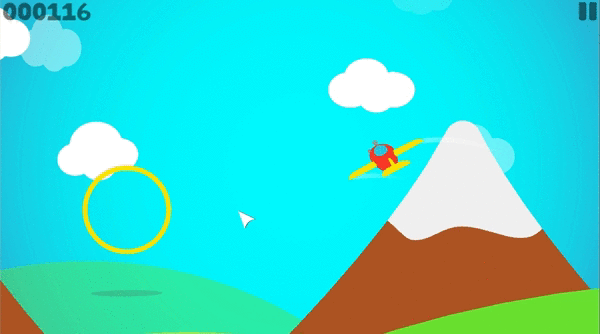
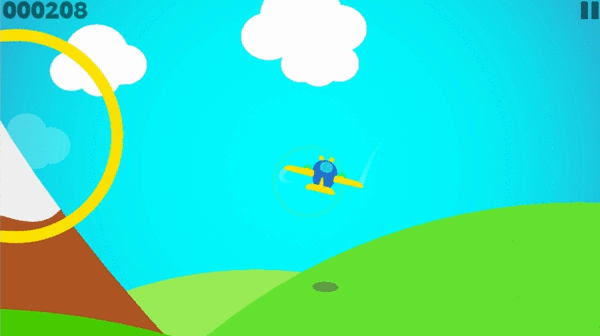
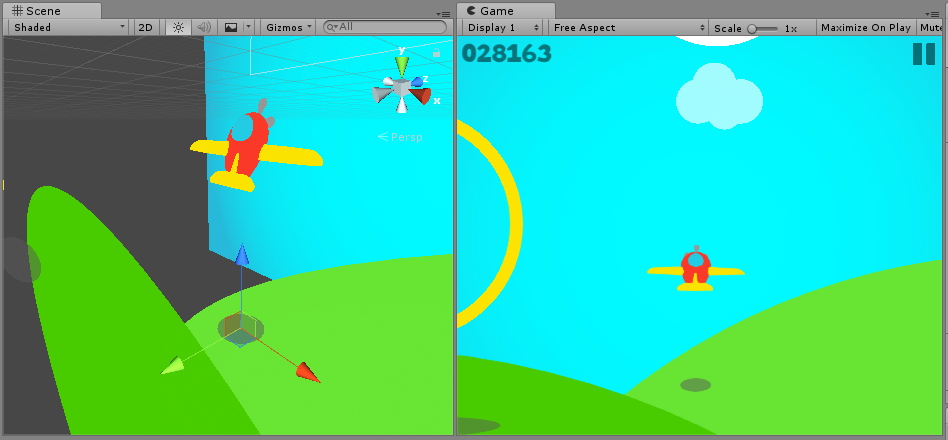
In the spirit of keeping things simple, the whole game will be playable with just the mouse. The levels will be “procedurally” generated in chunks and the goal will be to achieve the highest score without crashing.
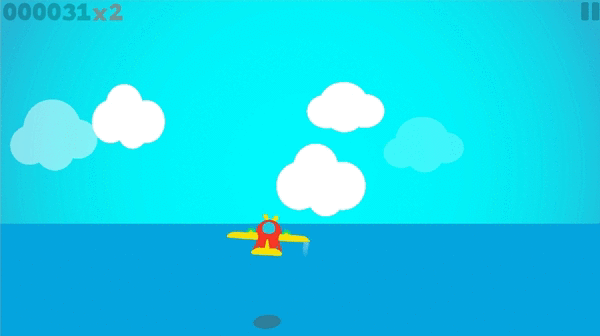
More points will be awarded for flying through rings as the level speeds up over time. As a reward for flying close to the ground, you’ll earn double points (as indicated by the airplane’s auto-deploying landing gear).
Development GIFs (oldest first)
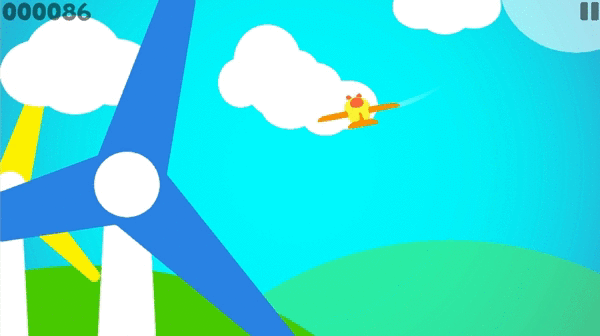

Adding Depth
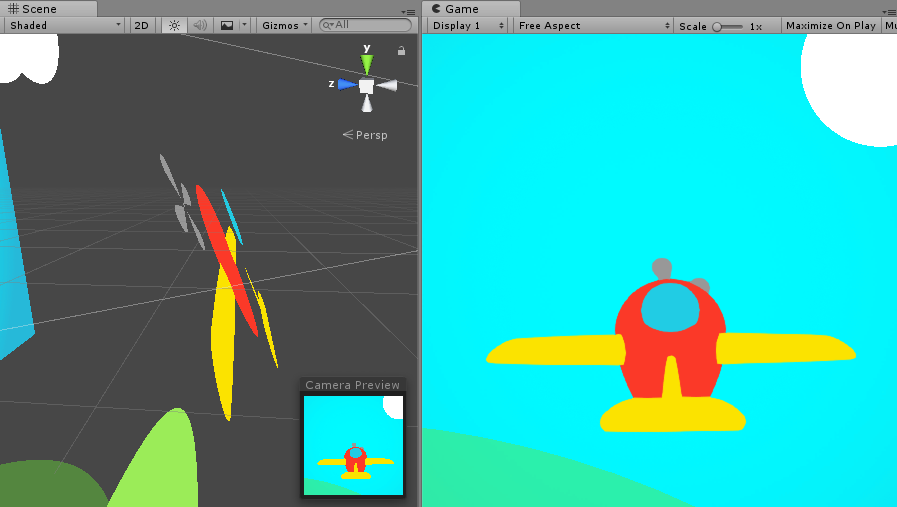
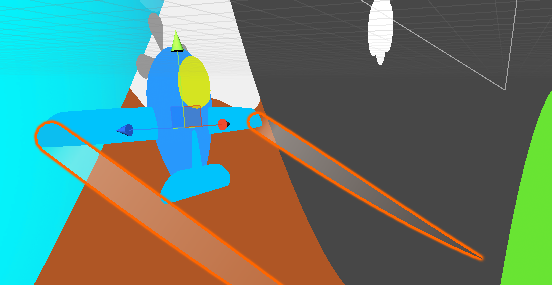
To adhere to the challenge guidelines, everything in the game is rendered using 2D vector graphics. The camera is using a Perspective Projection to let us take advantage of the parallax scrolling effect. As you can see below, different parts of the airplane are actually positioned at slightly different depths to give some sense of 3D as the airplane moves about. I’ve also given the tail section additional logic to slide side-to-side when turning, and the propeller rotates based on the player’s speed (you know, for “realism”).
The Camera
Another secret is that the camera doesn’t actually move! It’s fixed in space while the level spawns in chunks and scrolls by. When a level piece spawns, it moves along the z-axis by a constant speed and the xy-axis by -Player.Velocity to give the feeling that the player is moving towards the pieces. The player remains at a fixed z-position, but moves freely along the x and y axis.
Also notice the smooth quaternion rotations on the airplane.
Collision Detection
The reason for this camera trickery is to simplify collision detection. Because everything is using 2D assets, the colliders are also using 2D physics. But how can we use 2D physics in this pseudo-3D prototype? By keeping the colliders disabled until their z-positions reach 0 (the same z-value the player is restricted to). The colliders are then enabled for one frame so Unity fires the OnCollisionEnter2D callback. There, that wasn’t so hard now was it!

Z-Sorting
Due to the nature of having many GameObjects moving at different z-depths, I opted to keep everything in the Default SortingLayer and assign their OrderInLayer property dynamically based on transform.position.z. The only caveat with this approach is that the player airplane actually uses five unique layer indices for sorting the individual parts. This caused a bug where parts of the player would clip through objects at different rates, so I had to reserve the 0 - 4 layer range for only the player, and all other scrolling objects skip over that range.
Shadows
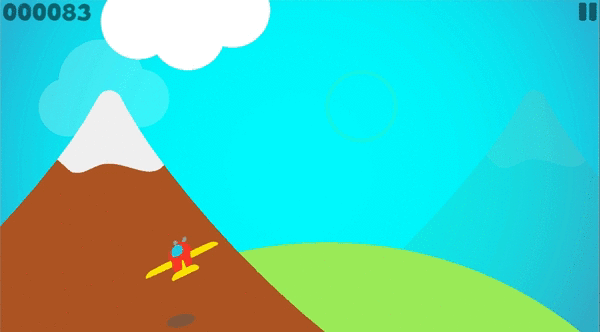
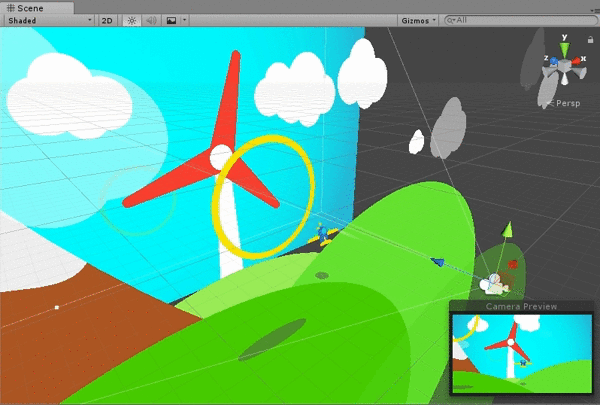
Very early on, I noticed it was very difficult to judge the player’s depth correctly. Enter: Fake Shadows™️. Normally you’d add a flat ground plane and give everything projector shadows with fixed y-positions, but I didn’t like the aesthetic of a flat ground and wanted to support hills, mountains and eventually other hazards.
The problem with a non-flat ground approach is figuring out how to calculate the y-position of these shadows. They need to move based on their z-distance, but because all the colliders are 2D, we have no real depth information here. After a couple failed approaches, I came up with a somewhat clever and simple algorithm:
- Perform a downward
Physics.RaycastAllon all “Terrain” layer GameObjects in the scene. - Iterate over the array of
RaycastHit2Dresults and take the one with the largest y-value.
a. NOTE: We can’t simply take the closest z-pos collider here, as there may be a massive hill just “behind” it that you’re about to collide with, so iterating over all the hit results is required. - Interpolate the shadow height based on the largest y-value and the positive z-distance away.
- Clamp and adjust the height based on some tweakables.
Perlin Noise
If you haven’t heard of noise generators before, don’t fret! They’re actually a lot simpler than they seem. Unity has a fantastic noise generation function: Mathf.PerlinNoise. I created a small helper component AmbientMotion to generate noise based on speed, min/max ranges and modify a transform’s position, scale or rotation. I then added a mixture of these to the airplane and title screen elements to give the prototype a little extra juice.
As an aside, that’s probably my single favorite part of working with Unity: the ability to easily create building blocks that can be used together to amount to something greater than the sum of their parts.
Pro Tip: Replace your calls to Mathf.Lerp with Mathf.SmoothStep. You can thank me later.
Custom Editor Window
Another workflow I’ve found useful is to create a custom EditorWindow for your game-specific needs. In my case, I wanted to quickly and easily view and edit the world transform of a GameObject (for debugging the shadow positions). This sounds simple, but the Unity Inspector actually only shows you the local transform. If your GameObject is nested, there isn’t a quick way to see its world information. Until now.
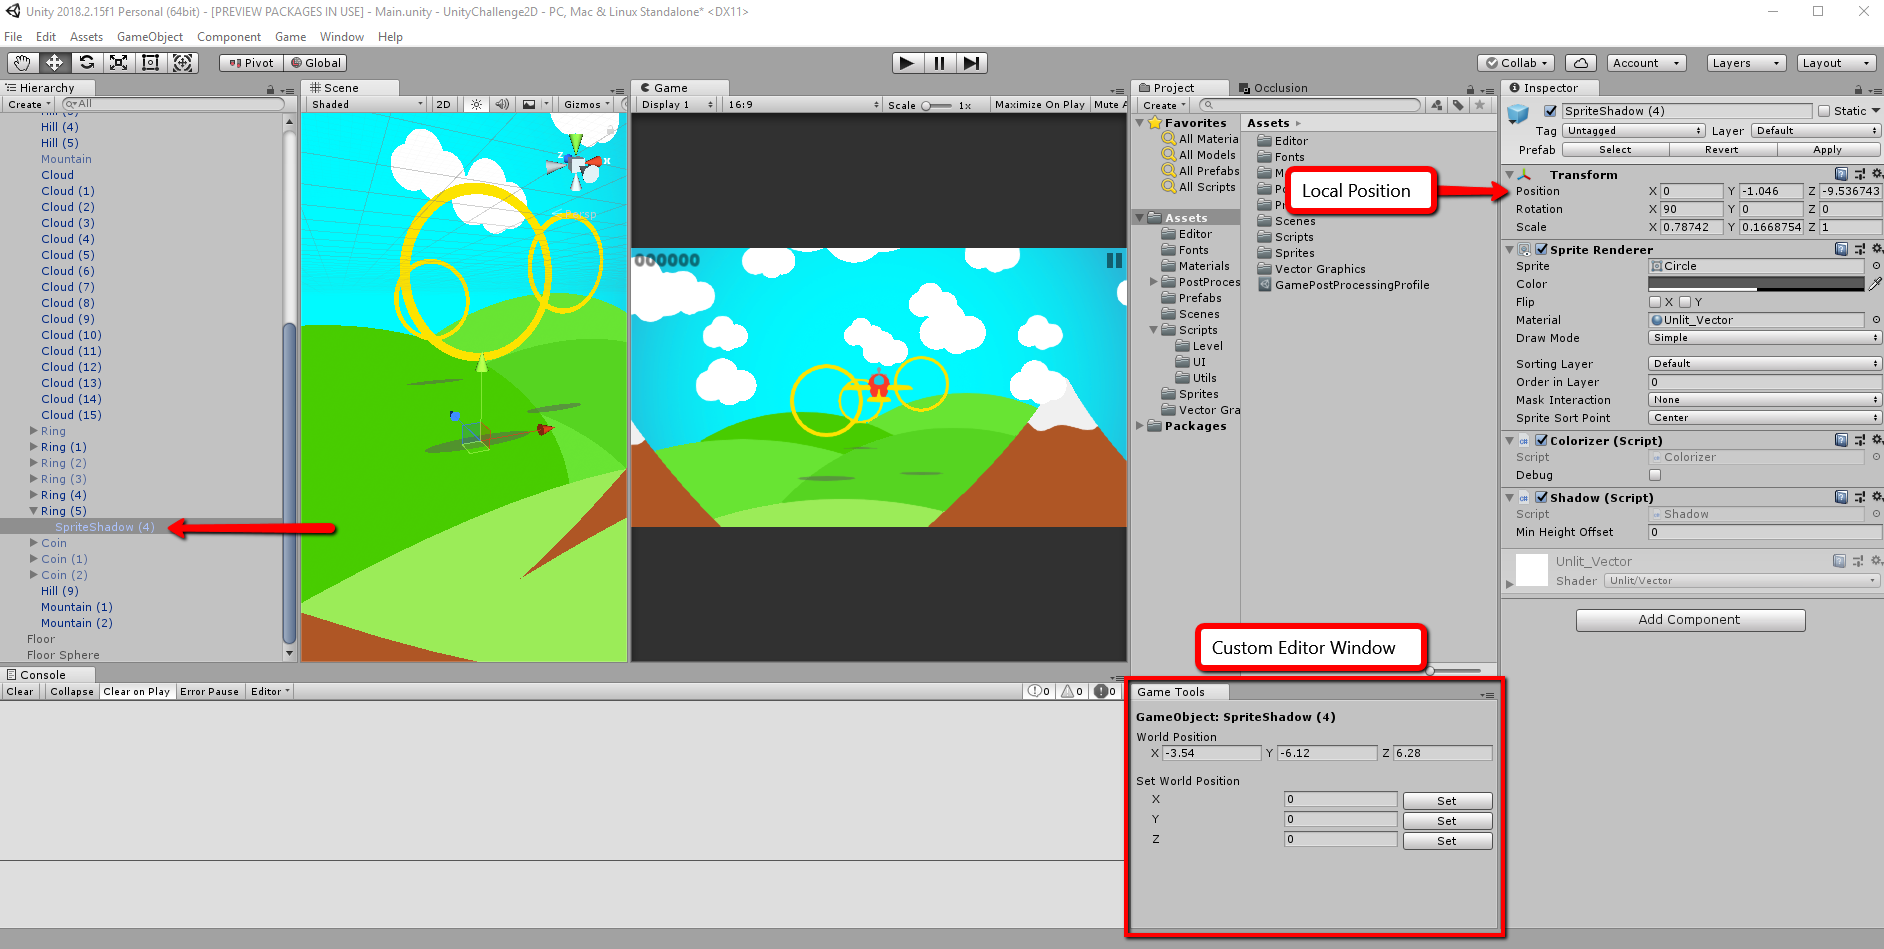
Pro Tip: You could also create a custom inspector to do this, but I often find that I end up adding more tools to the EditorWindow over time anyway, so it’s more convenient.
Place this script in an Editor folder within your project and it will create a new menu item called Game -> Tools.
It even works with undo/redo!
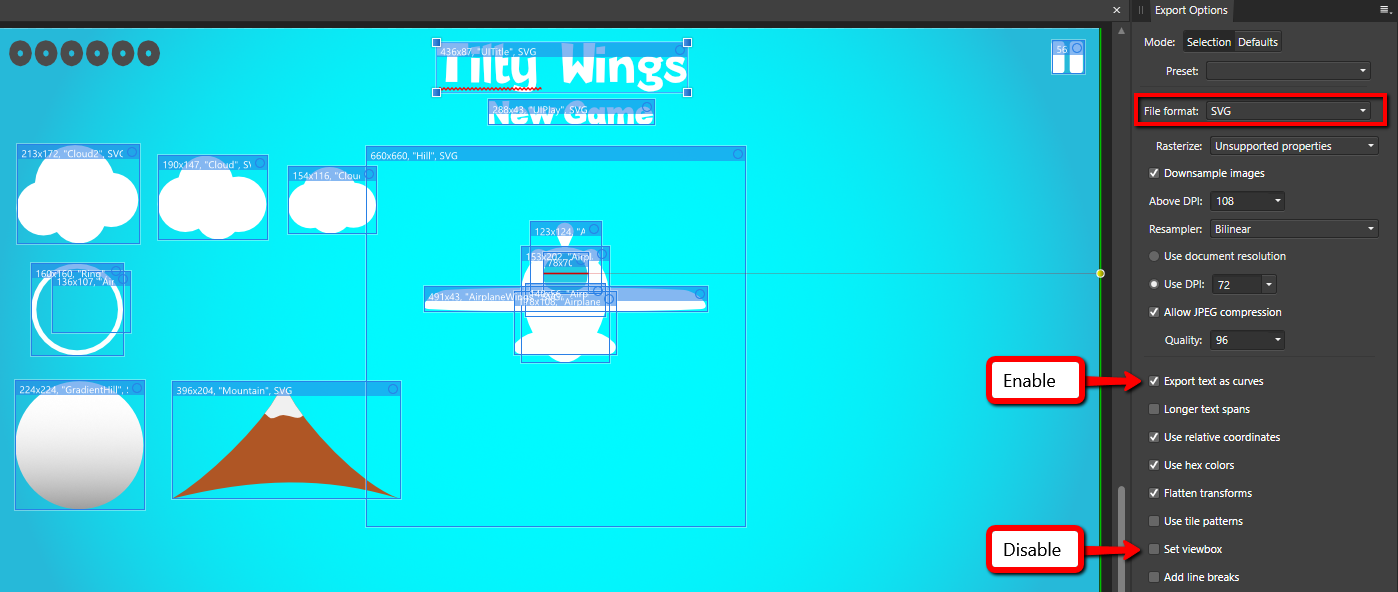
SVG Importing & Exporting
Currently, Unity doesn’t support SVG text elements, so when exporting your assets, be sure to enable “Export text as curves.” Also, to avoid inconsistent scaling issues when importing assets, disable “Set viewbox.”
Post-Processing
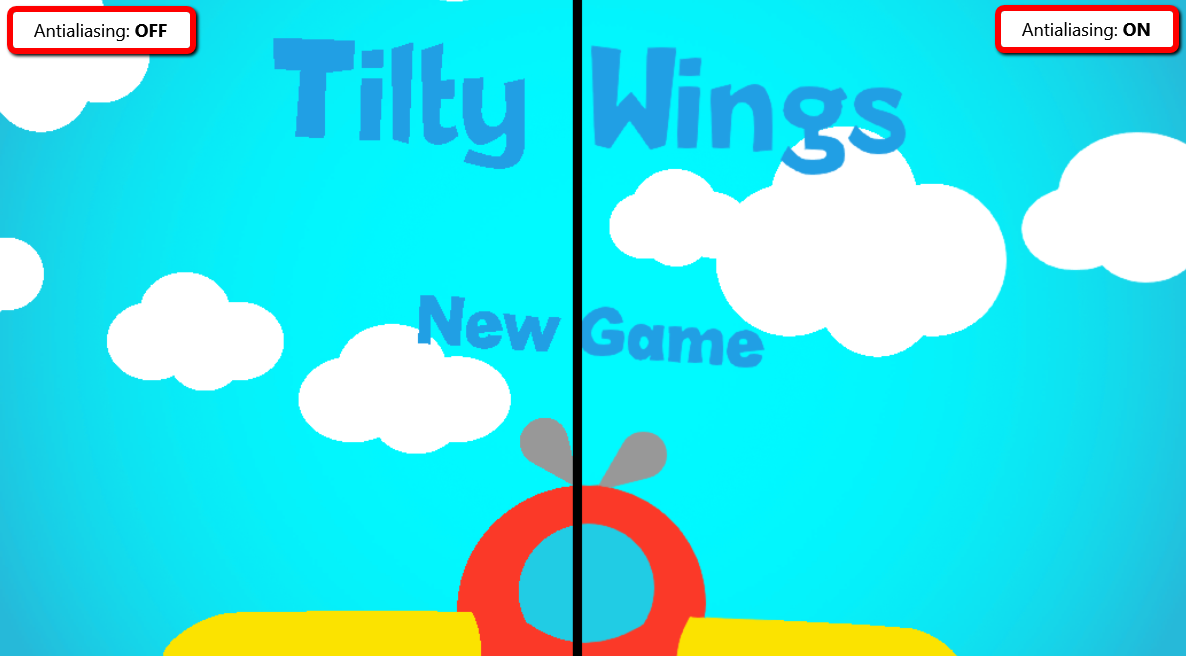
The quickest way to make any Unity game look good is with post-process effects, and the new PostProcessing stack makes this super easy. The only downside with 2D assets is that ZWrite is off by default, so many of the effects don’t have depth information to render correctly (Ambient Occlusion, Depth of Field, Fog, Motion Blur, etc). However, Antialiasing looks fantastic with vector graphics and I highly recommend using FXAA.
And even though we don’t have correct depth information, I’m still using the Depth of Field effect to blur everything but the UI layer on the game over screen. This works quite well, as interpolating the aperture results in a smooth transition.

Speaking of interpolation, I noticed I was animating many different variables throughout the code, so I tried to make life easier by utilizing Coroutines, C# Extensions and Actions to simplify this process. This is going to get a bit technical, but I wanted to share these utilities because they’re simple and easy to use.
For example, to interpolate the DoF aperture:
public class GameCamera : Singleton<GameCamera> {
	private const float kApertureTarget = 2.0f;

	public PostProcessingProfile Profile;

	public void BlurFadeIn(float duration, float delay) {
		Profile.depthOfField.enabled = true;

		this.Animate(Profile.depthOfField.settings.aperture, 0.0f, duration, delay, (val) => {
			Profile.depthOfField.SetAperture(val);
		});
	}

	public void BlurFadeOut(float duration, float delay) {
		this.Animate(Profile.depthOfField.settings.aperture, kApertureTarget, duration, delay, (val) => {
			Profile.depthOfField.SetAperture(val);

			// Disable effect when finished (for performance)
			if (Mathf.Approximately(val, kApertureTarget)) {
				Profile.depthOfField.enabled = false;
			}
		});
	}
}
This keeps the camera logic clean by moving the workhorse logic into these extensions:
public static class MonoBehaviourExtensions {
	public static void Animate(this MonoBehaviour behavior,
		float from, float to, float duration, float delay,
		System.Action<float> callback) {

		behavior.StartCoroutine(AnimateInternal(from, to, duration, delay, callback));
	}

	private static IEnumerator AnimateInternal(float from, float to,
		float duration, float delay, System.Action<float> callback) {

		if (delay > 0) yield return new WaitForSeconds(delay);

		float startTime = Time.time;
		while (Time.time - startTime < duration) {
			float tLinear = (Time.time - startTime) / duration;
			float tSmooth = Mathf.SmoothStep(from, to, tLinear);
			callback(tSmooth);

			yield return new WaitForEndOfFrame();
		}

		// Ensure the value is completely interpolated when finished
		callback(to);
	}
}

public static class DepthOfFieldModelExtensions {
	public static void SetAperture(this DepthOfFieldModel depthOfField, float aperture) {
		DepthOfFieldModel.Settings settings = depthOfField.settings;
		settings.aperture = aperture;
		depthOfField.settings = settings;
	}
}
The Animate(from, to, duration, delay, callback) method can now be used from any MonoBehavior to interpolate whatever value you want. Think of it like a lightweight and convenient iTween or LeanTween library replacement.
Pro Tip: If you want to animate something while the game is paused (and you’ve set Time.timeScale to zero) you can replace the above calls to Time.time with Time.realtimeSinceStartup.
Custom Trail Renderer
Because the airplane doesn’t actually move in the z-axis, the default TrailRenderer won’t produce a trail effect with any depth. Fortunately, Unity exposes everything we need from the TrailRenderer class to add our own mock velocity vector!
This proves to be much simpler than trying to modify a LineRenderer, for example.
using UnityEngine;

[RequireComponent(typeof(TrailRenderer))]
public class VelocityTrailRenderer : MonoBehaviour {
	public Vector3 Velocity;
	private TrailRenderer m_trail;

	private void Awake() {
		m_trail = GetComponent<TrailRenderer>();
	}

	private void Update() {
		Vector3[] positions = new Vector3[m_trail.positionCount];
		int count = m_trail.GetPositions(positions);

		for (int i = 0; i < count; ++i) {
			positions[i] += Time.deltaTime * Velocity;
		}

		m_trail.SetPositions(positions);
	}
}
The Player
I added a couple wing lights to indicate when the click-to-roll ability is ready. It’s currently set to a 2.5s cool down for gameplay balance.
Initially I had a radial filling UI widget follow the mouse cursor to indicate the cool down status, but it made more sense to keep the information on the player because that’s where you’re always looking.
I also added landing gear that auto-deploys when the player is within 3 units of the ground. This helps so you don’t have to look at the HUD to know when the 2x points boost is active.
Future Ideas
-
Add a blur effect to objects as they get close to the camera (pseudo depth of field).
-
Adjust shadow sizes dynamically based on height above ground (and fix clipping).
-
Seed the level generator based on today’s date so everyone plays the same level (and it changes at midnight).
-
Customizable airplane types/colors.
-
Online high score leaderboards.
Additional Learnings
As I continue to use the new 2D APIs, I’ve run into a few issues that I’ve been working with the Unity devs to resolve in the forums. I’ll try to document and summarize them here (my way of giving back):
-
The
SpriteRenderercolor property doesn’t work on imported SVG assets unless you use theUnlit_Vectormaterial. If you’re creating your own materials, you must enableGPU Instancingfor the color property to work. -
SVG assets with gradients may not import correctly due to a current limitation with Unity’s SVG parser. More info (and a workaround) can be found here.
-
Unfortunately, the PostProcessingV2 stack doesn’t currently work with WebGL builds and SVG assets, so I had to revert back to V1.
-
I found
MaterialPropertyBlockto be very useful for setting sprite colors efficiently, as almost everything in the demo has a dynamic color (due to fading the alpha component). -
If you want to detect UI mouse clicks and prevent them from triggering game logic, check
EventSystem.current.IsPointerOverGameObject()before callingInput.GetMouseButtonDown(). -
SVG assets can’t be used with the new 2D animation system (yet) due to complexities with bone weights, otherwise I would have animated the pilot asset accordingly.
FAQ
-
How did you capture those high quality GIFs?
- I recorded the Unity Editor window using Fraps (@ 60fps), then used VirtualDub (open-source) to crop, trim and export compressed H.264 AVIs and upload them to ezgif.com for the final result.
- I tried a LOT of other options (GifCam, WebMCam, Gyfcat, GIPHY) but wasn’t satisfied with the quality.
-
How did you edit the final submission video?
- I recorded footage using Fraps at 1080p60 and edited the clips in Sony Vegas Pro 13.
-
How did you create those vector graphic assets?
- I used a fantastic, lightweight yet powerful vector graphics application called Affinity Designer. The license is a (very affordable) one-time purchase and comes with free updates. Highly recommended!
-
Did you use anything from the Asset Store?
- For this project I decided to push myself and learn as much as possible, so everything you see was created by me from scratch.
-
Where can I play a demo?
- I’m working on a WebGL build (for easy accessibility), but no guarantees at the moment. With enough time, I’d love to flesh out the idea and bring it to Steam!
And finally…